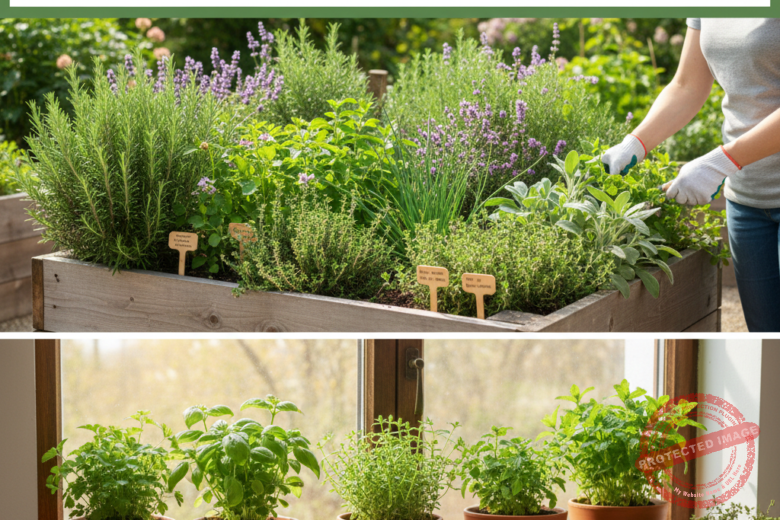
There’s something deeply satisfying about walking through your garden in the crisp fall air and spotting that one plant that’s practically begging to multiply. Maybe it’s your lavender stretching out over the path, or that woody sage attention 2 that’s getting a bit leggy. You pause, crouch down, and think, “I could start another one of you.” And that’s how the layering magic begins — quietly, simply, right there in the soil.
If you’ve never tried propagating by layering before, you’re in for a treat. It’s one of the easiest, most forgiving ways to create new plants without fancy tools or special hormones. You literally let the plant do the work for you. Nature has been layering for millions of years, long before we gardeners learned to call it that. Whether you’ve got a small backyard patch or an acre of perennials, this fall is the perfect time to give it a go.
You don’t need a greenhouse or grow lights. You don’t even need to dig deep. All it takes is patience, a bit of guidance, and a plant that’s willing to put down roots. In a few months, you’ll have a new batch of perennials ready to brighten another corner of your garden — or maybe to gift to a friend who’s just starting their own. And honestly, who doesn’t love a free plant that feels like a small victory of patience and care?
What Is Layering, Anyway?
Layering is nature’s version of cloning. It’s when a low branch or stem touches the ground, forms roots while still attached to the mother plant, and then can be separated once it’s strong enough to live on its own. You’re basically letting the plant raise its own baby.
Unlike taking cuttings, where you risk losing the stem to drying out or rot, layering keeps everything connected — water, nutrients, and all. It’s like training wheels for young plants.
Why Fall Is the Best Time to Try It
Fall is layering season. The ground is still warm enough to encourage root growth, but the air is cool enough to reduce stress on the plant. Plus, many perennials are winding down their top growth and channeling energy into their roots. Perfect timing, right?
If you’ve ever tried layering in spring, you know how quick it can dry out. Fall, on the other hand, keeps the soil moist and the sun gentle. You can start now, and by spring, your rooted sections will be ready to transplant.
How to Propagate by Layering (Step-by-Step)
Ready to try it? Here’s how I usually do it on the farm:
-
Pick a healthy stem. Choose a flexible branch that’s low to the ground. Avoid weak or damaged ones.
-
Wound the stem slightly. Just scrape a small section of bark where the stem will touch the soil. This signals the plant to produce roots.
-
Bury the section. Pin it down with a small rock, landscape staple, or bent wire, leaving the tip of the stem above the soil.
-
Keep it moist. Water occasionally, but not too much. The key is consistent, gentle moisture.
-
Wait patiently. Over the next several weeks, roots will form. By early spring, you can cut the new plant from the parent.
Simple, right? Now let’s talk about which perennials are just begging to be layered this fall.
60+ Perennials You Can Propagate by Layering This Fall
If you’re anything like me, your garden is full of plants that could easily give you more if you just asked them nicely. Here’s a list of over 60 that root beautifully from layering:
Herbs and Fragrant Favorites
-
Sage (yes, that woody sage attention 2 deserves it)
-
Lavender
-
Thyme
-
Rosemary
-
Oregano
-
Lemon balm
-
Mint
-
Catmint
-
Marjoram
-
Bergamot (Bee Balm)
Shrubby Perennials
-
Hydrangea
-
Forsythia
-
Weigela
-
Viburnum
-
Butterfly bush (Buddleia)
-
Spirea
-
Boxwood
-
Abelia
-
Honeysuckle
-
Euonymus
Flowering Beauties
-
Coneflower
-
Coreopsis
-
Black-eyed Susan
-
Yarrow
-
Salvia
-
Gaillardia
-
Chrysanthemum
-
Campanula (Bellflower)
-
Penstemon
-
Hellebore
Shade Lovers
-
Hostas
-
Ferns (like autumn fern and Christmas fern)
-
Bleeding heart
-
Ajuga
-
Epimedium
-
Lungwort (Pulmonaria)
-
Solomon’s seal
-
Japanese forest grass
-
Heuchera (Coral bells)
-
Lamium
Groundcovers and Spreaders
-
Creeping thyme
-
Sedum
-
Vinca minor (Periwinkle)
-
Creeping Jenny
-
Sweet woodruff
-
Pachysandra
-
Mazus reptans
-
Lily of the valley
-
Snow-in-summer
-
Stonecrop
Woody and Ornamental Perennials
-
Clematis
-
Wisteria
-
Jasmine
-
Trumpet vine
-
Lilac
-
Magnolia (smaller varieties)
-
Camellia
-
Daphne
-
Azalea
-
Rhododendron
-
Pyracantha (Firethorn)
-
Cotoneaster
Each of these has its quirks, but layering works on most because they have flexible stems that can touch soil and form roots naturally.
A Short Story From My Garden
Last fall, I noticed my old lavender hedge had grown wild, sprawling across the gravel path like a sleepy cat. Instead of trimming it back, I decided to press a few of those branches into the soil nearby. Fast forward to spring — I had six new lavender plants ready to transplant! All from one parent.
That’s the joy of layering. It rewards observation and patience. Sometimes, it feels less like gardening and more like quietly collaborating with nature.
How Long Does Layering Take?
Depending on the plant and the weather, it can take anywhere from a few weeks to several months. Herbs like mint and thyme root quickly, often within 4–6 weeks. Woody plants like camellia or lilac can take all winter.
You’ll know it’s ready when you gently tug the buried section and it resists — that means roots have formed. Cut it from the parent, lift it carefully, and plant it in its new home.
Common Mistakes to Avoid
-
Burying too deep: The stem should only be lightly covered, not buried completely.
-
Letting it dry out: Keep that section moist, especially in the first few weeks.
-
Forgetting to label: Trust me, once you have ten branches layered, it’s easy to forget which is which.
-
Cutting too early: Patience pays. Give it time to establish strong roots before separating.
Tips for Successful Layering
-
Pick healthy parent plants with strong stems.
-
Use compost or rich loam around the buried section to encourage root growth.
-
Secure the branch well — wind can loosen it.
-
Mulch lightly to hold moisture and protect from frost.
-
Check every few weeks and re-moisten if needed.
A little care goes a long way here. Layering isn’t about perfection; it’s about consistency.
FAQs
Q: Can I layer plants in containers?
Yes, if you’ve got limited space. Just fill a small pot with soil and place it under a stem still connected to the parent plant. Works great for herbs or small shrubs.
Q: How do I know if it worked?
Gently uncover a small section after 6–8 weeks. If you see white or tan roots, you’ve done it right.
Q: Can I use rooting hormone?
You can, but you don’t have to. Most perennials layer just fine without it.
Q: Should I fertilize while layering?
No need. The parent plant supplies the nutrients until the new one is separated.
Q: When should I separate the new plant?
Wait until spring if you started in fall. The roots will be strong enough by then.
How to Care for Newly Layered Plants
Once your new perennials are ready to move, treat them gently. Dig them up with as much root ball as you can. Replant them in loose, well-draining soil, water deeply, and let them settle in a shaded spot for a week before moving them into full sun.
Think of this phase like hardening off seedlings — gradual transition leads to stronger growth.
Why Layering Deserves Your Time
There’s something humbling about using such an old-fashioned technique in a world full of gadgets and shortcuts. Layering reminds us to slow down, to pay attention, to let nature set the pace. You’re not forcing anything; you’re encouraging it. And in return, you get plants that are strong, healthy, and rooted — both literally and figuratively.
The next time you walk through your garden this fall, look around. Which of your perennials is quietly offering you a chance to multiply its beauty?


