There’s something deeply satisfying about building something with your own hands—especially when it ends up covered in lush greenery. A wooden wall planter isn’t just another DIY project; it’s a piece of living art. Whether you’re short on space, want to dress up a dull wall, or simply love the rustic charm of wood paired with plants, this project has a way of transforming any area. I’ve always believed that a bare wall is just a missed opportunity waiting to bloom, don’t you think?
When I built my first wooden wall garden, I didn’t follow any fancy blueprints. I had a few old fence boards, a hammer, and some leftover screws from a barn repair job. The idea was simple—stack a few boxes, mount them on the shed wall, and fill them with herbs. By the end of the day, I stood back and smiled. That old shed suddenly looked alive, and every time I brushed past it, the smell of fresh basil and thyme followed me. It wasn’t perfect, but it was mine.
That’s what makes this kind of project so rewarding. You don’t need to be a carpenter or have a fancy workshop. You just need the willingness to get your hands a little dusty and the joy of seeing plants take root in something you built yourself. Whether you live on a farm, in a small apartment, or anywhere in between, a wooden wall planter can fit right in. Let’s walk through how to make one step by step, along with a few plant care tips to help your wall garden thrive.
Why choose a Wooden Wall Planter?
Wooden wall planters bring together two of the best things—natural texture and living plants. Wood adds warmth to your space, while greenery brings life. Together, they create a rustic charm that’s hard to beat.
Besides looks, there’s practicality. If you’re short on ground space or your backyard soil isn’t ideal, a vertical wooden wall garden gives you more growing room without taking up floor space. And it’s easier to water, weed, and harvest when your plants are right at eye level.
Some of the Materials You’ll Need for Wooden Wall planter
You won’t need a full workshop to make this project happen. Here’s a basic list of what you’ll need:
-
Wooden planks (reclaimed wood, cedar, or pine works fine)
-
Measuring tape and pencil
-
Saw (hand saw or circular saw)
-
Screws or nails
-
Drill
-
Sandpaper
-
Wood sealant or varnish (optional, for weatherproofing)
-
Wall-mounting hooks or brackets
-
Small plastic liners or landscape fabric (to hold soil)
-
Potting mix
-
Your choice of plants
If you already have some scrap wood lying around, you’re halfway there. Just make sure it’s sturdy enough to hold soil and water without warping.
Steps in making Wooden wall planter
Step 1: Plan Your Design
Before cutting anything, take a moment to visualize how your wooden wall garden will look. Do you want several small boxes lined up, or one large planter with sections? Sketch it out if you can.
If this is your first try, start small—maybe three or four compartments stacked vertically. You can always expand later once you get a feel for how much your wall can hold.
Ask yourself where you’ll hang it. Indoors by a window? Outdoors on a shed or fence? Sunlight will decide which plants will thrive best.
Step 2: Cut and Sand the Wood
Measure twice, cut once. That’s what my grandfather used to say whenever we worked on the barn. It still applies here. Cut your wooden boards to the sizes you need for the back, sides, and bottom panels.
Once everything’s cut, sand the edges to remove splinters and rough spots. This not only makes it safer to handle but also gives your wall planter a clean, finished look.
If you plan to hang it outdoors, brushing on a light coat of weatherproof sealant will help protect the wood from moisture and sun.
Step 3: Assemble the Boxes
Now comes the fun part—putting it all together. Use screws or nails to attach the side pieces to the back panel, forming a simple open box. Then attach the bottom board to complete the structure.
If you’re building multiple boxes, repeat the process for each one. You can make them uniform or mix different sizes for a more creative look. A mix of large and small boxes gives a nice layered effect on your wall.
Step 4: Add Liners and Drainage
Wood looks great, but it doesn’t handle soggy soil well. To protect it, line the inside of each box with landscape fabric or plastic sheeting. Poke small holes at the bottom for drainage so water doesn’t pool inside.
You can also drill a few small holes in the bottom of each box for extra drainage. Good airflow keeps roots healthy and prevents rot.
Step 5: Mount It on the Wall
Now it’s time to give your wall planter its home. For outdoor setups, screw strong hooks or metal brackets into the wall, making sure they’re level and evenly spaced. For indoor installations, look for studs or use anchors if mounting on drywall.
Test each box by gently pulling it after mounting—you don’t want any surprises once it’s filled with soil and plants.
If you prefer flexibility, you can even hang your wooden boxes on a sturdy metal grid or wooden frame instead of directly on the wall. That way, you can move them around or take them down easily.
Step 6: Fill and Plant
Now comes the rewarding part—filling your wall planter with life. Add potting soil about three-quarters of the way up each box. Choose a light, well-draining mix to avoid waterlogging.
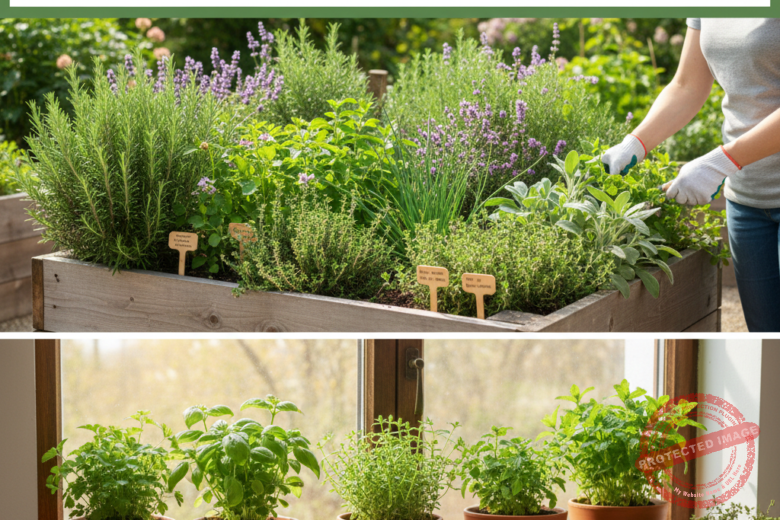
Think about what kind of plants will work best. For a sunny outdoor spot, herbs like basil, oregano, thyme, and rosemary are perfect. For shadier walls, go with ferns, pothos, or philodendrons.
Want a splash of color? Try trailing flowers like petunias or nasturtiums that will spill over the edges beautifully.
Step 7: Watering and Care
Here’s something people often forget—wooden wall gardens dry out faster than ground gardens. Because the soil is more exposed, you’ll need to water regularly, especially in warm weather.
Stick your finger in the soil to check moisture. If it feels dry an inch down, it’s time for a drink. A watering can with a narrow spout or a small hose attachment works well for reaching each pocket.
Also, trim plants that grow too long or start shading others. Keeping a good balance ensures all your plants get enough light and air.
Real-Life Moment: My Farm Wall That Changed Everything
A few years ago, I had this old wooden barn wall that looked bare and forgotten. One morning, while sipping my coffee, I decided it needed a little life. I built three long planters from leftover cedar planks and filled them with strawberries and creeping thyme.
That summer, every time I walked past, I could smell the herbs and see bright red berries peeking through the green. Birds came around too, picking at the ripe ones before I could. It became a little ecosystem—one that started from a few boards and a morning idea.
Sometimes, it’s small projects like this that remind us how nature always gives back when we put in a bit of love and effort.
Choosing the Best Plants for Your Wooden Wall Garden
When planning your wooden wall garden, think about your environment.
-
Sunny walls: Herbs, succulents, and flowering plants like geraniums and marigolds.
-
Shady walls: Ferns, English ivy, peace lilies, and pothos.
-
Edible walls: Lettuce, strawberries, mint, or spinach.
Mix textures and colors for a natural look. Pair something leafy with something that trails down—it gives your wall planter more dimension.
Tips for a Long-Lasting Wooden Wall Planter
-
Use cedar or treated pine for better durability.
-
Apply wood sealant to prevent moisture damage.
-
Avoid overwatering—roots need air as much as water.
-
Check regularly for pests and prune when necessary.
-
Rotate plants or replant every season to keep things fresh.
A little upkeep now and then keeps your wooden wall garden healthy and vibrant for years.
FAQs About Wooden Wall Planters
Q: Can I use reclaimed wood for my planter?
A: Absolutely! Just make sure it’s clean, sturdy, and free from chemical treatments that might harm plants.
Q: How do I prevent water damage?
A: Use liners or sealant inside the boxes, and make sure drainage holes are working properly.
Q: Can I hang it indoors?
A: Yes, but line it well to avoid water leaks, and choose plants that can thrive in indoor light.
Q: What’s the best size for a wall planter?
A: Start small—around 12 to 18 inches wide—and expand once you’re comfortable with the weight and watering routine.
Q: How often should I water a wooden wall garden?
A: It depends on sunlight and plant type, but generally every 2–3 days during warm seasons.
How-To Summary
-
Plan your design and choose your wall spot.
-
Cut, sand, and seal your wood.
-
Assemble boxes and line them for drainage.
-
Mount securely with hooks or brackets.
-
Add soil, plant, and water regularly.
And there you have it—your own piece of living art.
Building a wooden wall planter is one of those projects that gives back more than you put in. It adds charm, life, and freshness to your space, whether it’s a farm wall, a city balcony, or a kitchen corner. Every board, screw, and seed you place becomes part of something alive. And when you see those first leaves reach out toward the sun, you’ll know it was worth every minute.
So, what kind of wooden wall garden will you build—something rustic and wild, or something neat and full of herbs?


